Sport and yoga are just two of the many ways you can keep healthy outdoors, along with jogging.
Bike riding is one of the most liberating and enjoyable exercises you can do. This form of transportation provides a sense of adventure and happiness unlike any other!
The fact that they are so wonderful to ride does not diminish that their design is quite complicated and intricate. It can sometimes be challenging to draw one, but there’s a guide to help!
Our step-by-step drawing tutorial will make how to draw a bike easy for you.
How to Draw a Bike
Method-1:
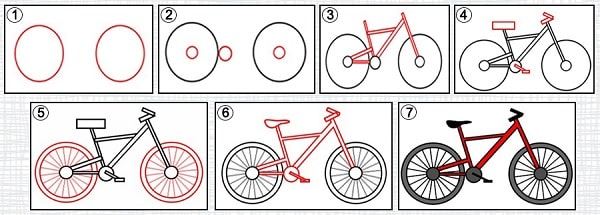
Step-1:

Create the tires by first drawing two circles. Keep them close together. Another tire shouldn’t fit between these. Get your wheels as close as possible.
Step-2:

I’ll add another three circles for the chain wheel, the front hub, and the rear hub. Position the chain wheel so that it touches the rear tire.
Step-3:
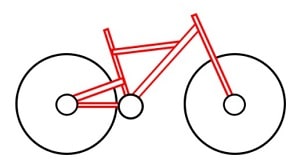
Now you need to draw the bicycle’s tubes. To ensure that your tubes are positioned accurately, follow the illustration above.
Step-4:
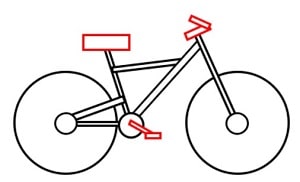
Then add the saddle, handlebars, and pedal shapes.
Step-5:
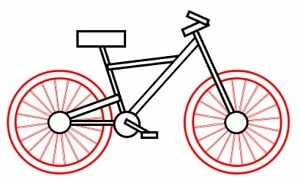
Your drawing needs to be refined now! Take the time to round the wheels and work on the tires. Next, create some spokes by drawing a few lines. You do not want to draw too many lines unless you want to create a cluttered drawing.
Step-6:
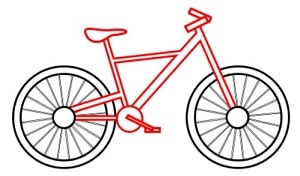
Your bike’s body now needs to be painted. You need the saddle to be perfect and the tubes joined into one solid part.
Step-7:
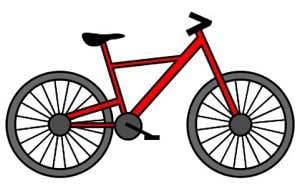
It’s just a matter of adding some color to that bike, and you’re done! Taking your time and drawing all the elements carefully on the right spot won’t be too difficult if you draw a bicycle carefully.
Method-2:
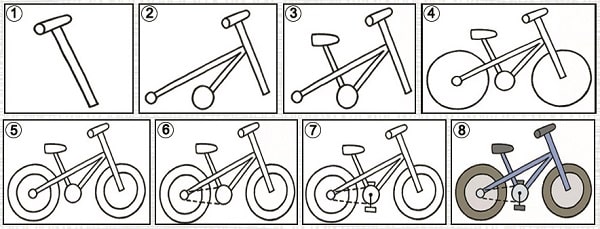
Step-1: Make a bike handlebar drawing.
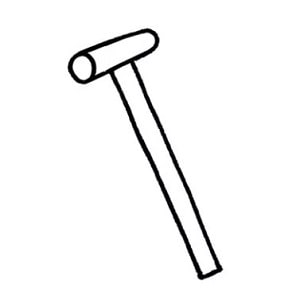
To start, you need to draw the handlebars of the bicycle. Start by sketching two long lines and connecting them in the bottom. Top them off with two horizontal lines. Bikes should have rounded handles.
Step-2: Create a frame.
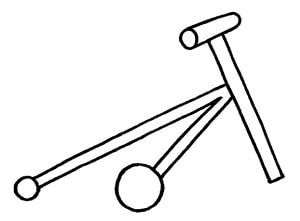
Create a sketch of the bike’s construction. Draw the middle frame of the bike, which supports the entire bicycle. Start with the handlebar frame of the bike.
Step-3: Sketch the seat of the bike.
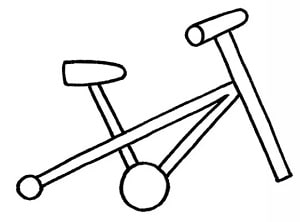
Make two parallel lines from your large circle. Add an oval to the top with different endings.
Step-4: Make two circles.
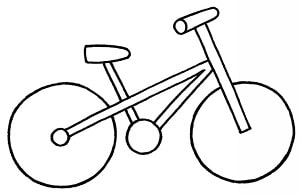
Draw parallel lines between two large circles. Draw them as realistically as possible.
Step-5: Sketch inside the circle.
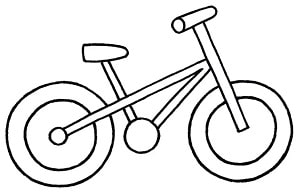
After completing the outer circles of the wheel, draw the inner circles that are slightly smaller.
Step-6: Adding the bike chain.
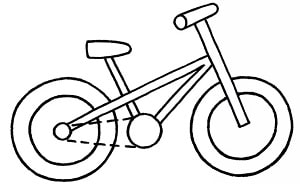
Connect two circles with dashed lines.
Step-7: Sketch the pedals.
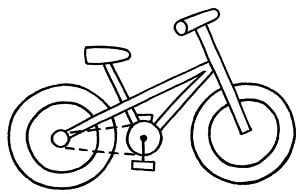
Using the example, draw the pedals.
Step-8: Paint your bike.
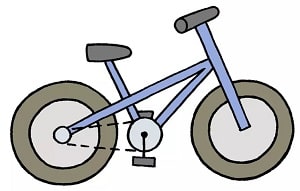
Now that you’ve completed your sketch, all you have to do is color it. Markers, crayons, and paint can all be used for this part.
Method-3:
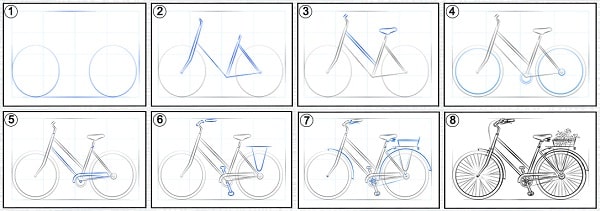
Step-1:
The bicycle’s height and width should be marked off. Sketch its general proportions in light lines. Outline the wheel ovals.
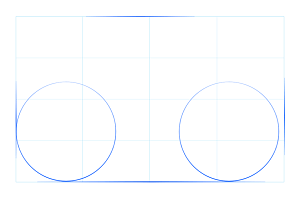
Step-2:
Make bicycle frame guidelines.
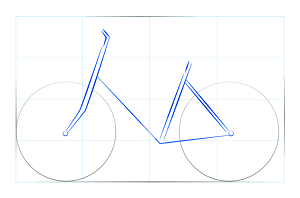
Step-3:
Add new details to the handlebars, saddle, and frame.
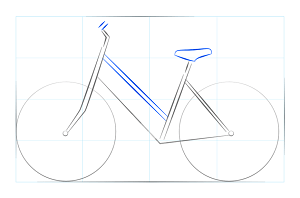
Step-4:
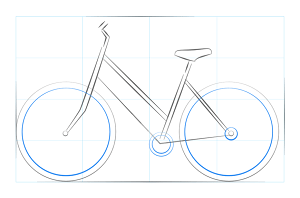
Draw a line between each rim and chainring.
Step-5:
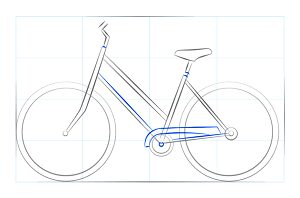
Build the frame with more parts.
Step-6:
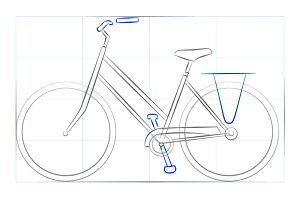
Outline the crank arms, the pedals, the grips on the handlebars, and the basket on the bicycle.
Step-7:
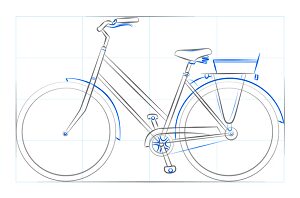
A detailed description of the bicycle.
Step-8:
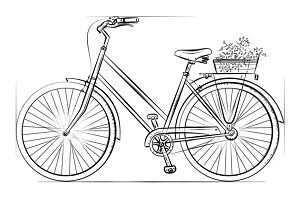
Pay attention to details and contour. Decorate the basket with flowers. Get rid of the outline.
Method-4:
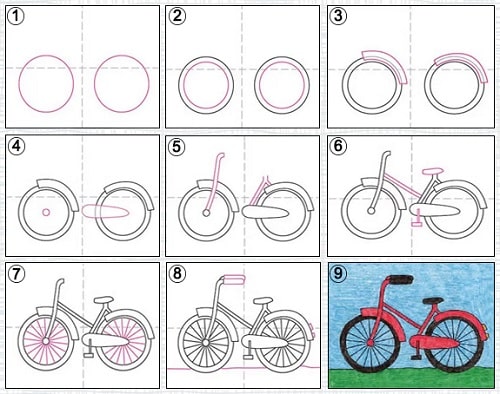
Step-1:
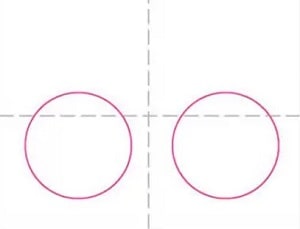
A circle should be drawn around the front and back wheels.
Step-2:
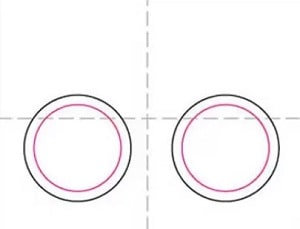
Make each wheel smaller by drawing smaller circles.
Step-3:
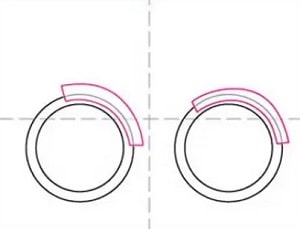
The bike’s front and back wheels require fenders.
Step-4:
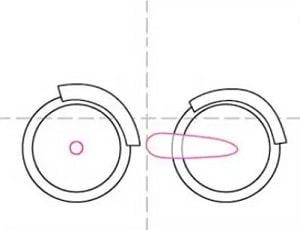
The chain is held in place by an oval shape in the middle of the wheel.
Step-5:
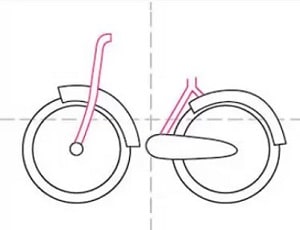
You need to draw the bike bars.
Step-6:
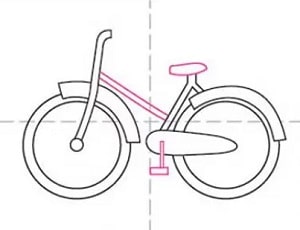
Add a pedal, bar, and bike seat.
Step-7:
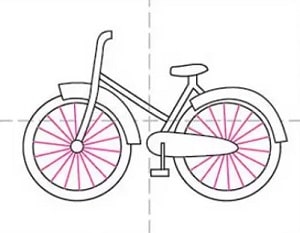
Draw both tire rings.
Step-8:
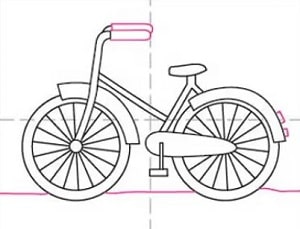
Complete the bike drawing with handles and reflectors.
Step-9:
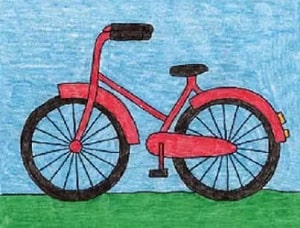
Color with crayon after you trace with marker.
Conclusion
Despite its intricate design, our guide shows you how to draw a bike when you know what to do. Having finished your drawing, it’s time to add some finishing touches, including some colors and details!
As an example of personalizing your drawing, you could add some stickers or patterns to your bike.
This guide should have been fun for you, and I hope you will enjoy other guides like it! Keep up to date with our website to make sure you don’t miss any new tutorials.

