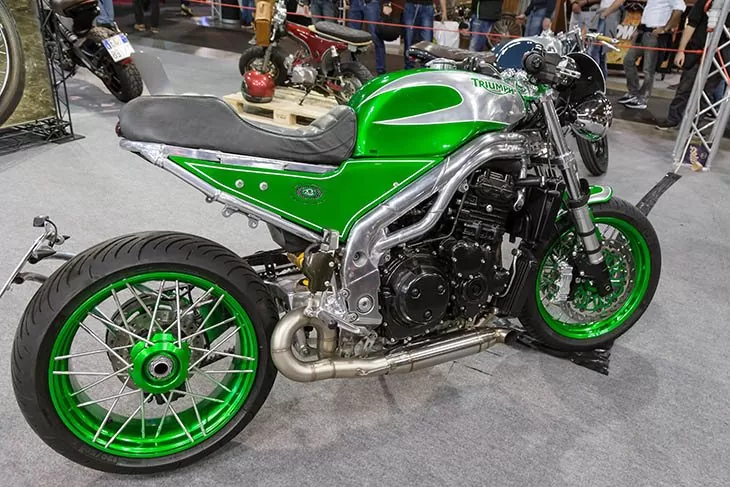
Doing a paint job on a motorcycle can be great so long as you get to do it right. Check out this guide on how to paint motorcycle fairings.
Pro Tips On How To Paint Motorcycle Fairings Reviews:
Introduction
The motorcycle fairings often take a lot of abuse whenever you get to use your motorcycle. It is common for them to face abuse such as road debris and rocks hitting them whenever you are riding around with the motorcycle. After a few months with the fairings, it is easy to see for yourself that they need work.
A lot of wear and tear is inevitable, but it does not mean that you cannot restore them to their previous glory. You will need just a few supplies and the right guide to repaint the fairings back to their great looking color. The process can take time, so clear your schedule before you can embark on the process.
Below, we get to look at some of the steps you have to follow on how to paint motorcycle fairings.
What You Will Need
- Paint gun
- Masking tape
- Drop cloth
- Fiberglass repair kit
- Sealer
- Lacquer paint
- Primer
- Foam paint brush
- Sandpaper
Instructions
Step 1: Preparing The Work Area
You cannot just start painting the fairings without preparing the surface first. Cleaning the surface will make it easier for you to handle the paint job with ease. The cleaning process is not hard at all, as you will see later on when trying it.
An additional way of preparing the work area is having a drop cloth on the floor under the fairings. The work of the drop cloth is to help catch any paint that falls or splatters when you are doing the paints. You do not want to leave the work area so dirty after you are done with the paint job.
Step 2: Sanding The Fairings
The sandpaper comes in handy at this stage. You need to sand the fairings with the right technique and grind sandpaper. In this case, we get to use the 80-grid sandpaper to remove some of the top coat on the fairings to prepare it for the next paint job.
It is recommended that you use straight strokes when sanding and in the same direction. You could opt for the belt sander for a faster process or simply use your hands. For the curvy areas of the fairing, it is always better to use hands so that you get to cover all the crevices.
Make sure that the sanding process removes all the old paint making the surface ready for the primer.
Step 3: Repair Any Dents And Scratches
If you are looking at how to paint motorcycle fairings, the chances are that you also have to repair the bodywork. The fairings might have dents, holes or scratches and it is more reason to repair them first before repainting the bunch.
It is important that you have a smooth bodywork before you can start painting. If the fairings seem to be damaged, you can use the fiberglass repair kit to patch such holes and dents. Once the repair is done, you can now sand it again with the 80-grit sandpaper to ensure that the surfaces have the same smoothness.
Step 4: Apply The Primer And Rough It Up Again
The first type of paint to go onto your fairings would be the primer. Now that the surface has been prepared adequately, you can now choose to apply the primer. To apply the primer, you will need a spray gun or even a foam brush.
Ensure that you get to apply a thick coat so that it can be able to fill all those small scratches. The result is that you will end up with a smooth surface that you have always wanted. The primer is a must for someone who is looking to have a fairing that looks great in the end. Give it enough time for it to dry up thoroughly.
With the primer completely dried up, you can now rough it up by sanding it with the 400-grit sandpaper. You do not have to use a lot of force at this point. Run this type of sandpaper over the surface with your hand. This part will help the paint to adhere to the primer easily.
Step 5: Apply The Lacquer Paint
This should be the last part on how to paint motorcycle fairings. You are now to apply coats of lacquer paint of your choice. It is recommended that you give it two coats of paint so that it gives it a nicely done finish.
Applying the lacquer paint should be done using a spray gun and two coats should be sufficient. Make sure that the coats are thin and even. Think coats should look great and still easily dry up after painting
Make sure to give the fairings enough time to dry off the paint before you can start using the motorcycle again.
This YouTube video should offer you additional tips for painting the motorcycle fairings
Final Verdict
The paint fumes are often toxic, so it is recommended that you wear the right breathing filter whenever you are working on the paint job. You do not want to end up developing respiratory problems in the end.
The paint can also be highly inflammable, so do not use it in a kitchen or other places that might have flames.
This method on how to paint motorcycle fairings is quite easy to follow and own it. The result is that you will have a great looking fairing in the end always.
I hope you enjoyed the guide, proceed to comment or share with your friends about this method.

