Are you looking for information on how to build a motorcycle from scratch? Then, you are in the right place. In the following guide, you’ll find everything you need to help you understand how motorcycles work with a particular focus on how to put one together.
How To Build A Motorcycle From Scratch

With a little inspiration and a burning passion, you should be able to build your motorcycle. This guide will expertly walk you through the entire process starting long before you’ve even visualized the bike and ending in taking your first home-made motorcycle out for a jubilant ride.
At this point, all you need to do is follow through to the end of this guide and learning how to build a motorcycle from scratch will come all too naturally to you. Read on to find out more:
What You Will Need

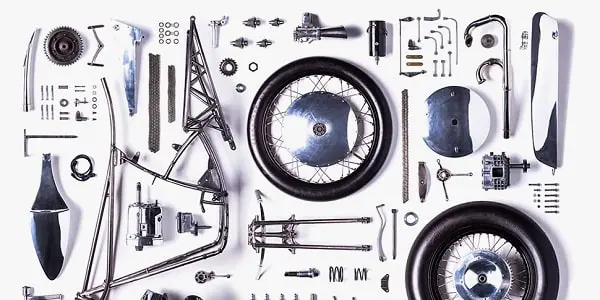
As a bike builder, your best finds will mostly come from salvage yards. Take a stroll through any motorcycle salvage yard and uncover the world of possibilities lying in wait. Combine the finds you get with a couple of used parts you bought online, and you’ll have yourself a motorcycle at a relatively low cost.
To build your bike from the frame up, you first need to know the design you are looking to emulate. After that, you will be ready to start getting the various parts you need and go right into beginning the build.
Every motorcycle building expert agrees that the order you should follow while putting a bike together is as described below:
- Frame
- Tires and Fenders
- Engine
- Exhaust
- Accessories
- Handlebars
- Tear down for painting and chroming
- Reassembly
- Aesthetic customization
- Battery, wiring, and other electrical components
Step By Step Instructions

After ticking off every item on the checklist, use the tutorial below to help you as you try mastering how to build a motorcycle from scratch:
1. Frame
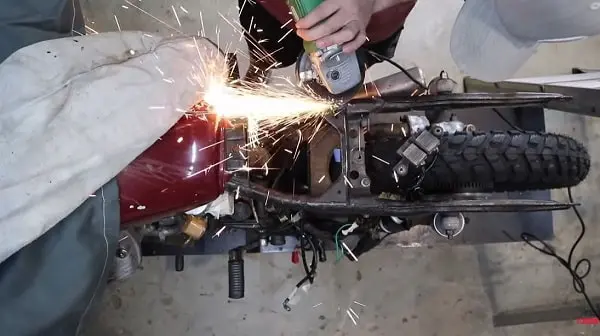
If you are, for instance, building a chopper, you need to modify the frame by changing the head pipe joint at the point where it is attached to the top from rail smack on the front frame down tube. By altering this angle, your frame will look more like a chopper’s.
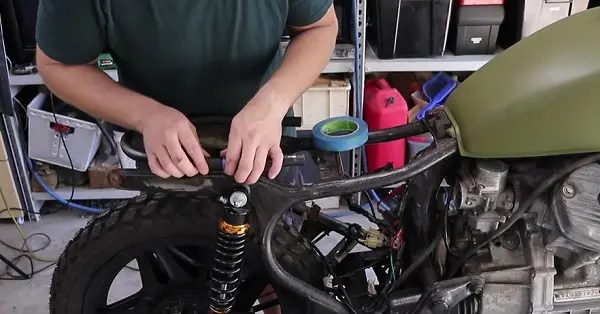
Another alternative is to change the body so that it is fat around the tires and long along the frame. Remember, modifying is a mock-up process that will have you putting different pieces together to get a better feel of how your motorcycle will end up looking.
After changing the shape, add the triple tree where you will mount your handlebars and shocks. Once the triple tree is in place, go right ahead and install the brakes, rear and front tire, and shocks.
Your frame will become a rolling chassis after it has working fenders, rear and front brakes, rear and front tires, front suspension, front wheel, rake, and the frame.
2. Tires And Fenders
Experts advise that you should space your tires evenly with the bike frame so that everything will line up correctly. Remember, the fenders will primarily protect you from getting dirty and splashed on while also repelling debris, so it doesn’t hit your bike.
3. Engine
After adding your transmission and engine to the bike, you can now insert the first case – ensuring that it lines up perfectly with the transmission and engine. The primary drive should be the gear reduction system that will transfer power to the clutch and from the crankshaft.
Similarly, ensure that the final drive system (Gilmer-type or chain belt connecting the transmission to the rear tire) is properly aligned.
Once you’ve installed your engine, you will need to start adding the clutch levers, brake pedal, footrests, and battery tray, and oil tank.
4. Exhaust
Next up is the exhaust system – which will make your bike run legally and well. For this, all you need is a pipe. In case your design for it, bend the pipe, so it matches your up-and-coming motorcycle.
To do this, look for pipe bending and welding equipment at WeldingHubs.com. If you lack the skills (or access), consider outsourcing this part of your bike building project to a motorcycle exhaust shop.
You’ll need to attach your pipe to the cylinder head on your engine using mounting phalange. You should also bend the pipe according to your design until it comes right out from the bike’s rear. In this, you might need to use welding brackets where and as needed. Check weldzone.org and find some welding equipment on this website.
5. Accessories
Where possible, build the mock-up of your handlebars and gas tank simultaneously. The reason behind this bike building advice is that the placement of these two parts will have an effect on each.
6. Handlebars
While still on the bike, you need to ensure that you feel comfortable holding onto the handlebars. If you’re more into form than functionality, you might consider sacrificing your comfort for style – it will all depend on your personal preferences.
That said, there is no shortage of handlebars on the market today. Whereas some handlebars are designed to sit naturally, others are a bit wider. You can also go as low or as high as you would prefer. Choose what you’d like best.
7. Seat
Drawing towards the end of your DIY motorcycle building project, you should find a comfortable seating position that also matches the style you intend to achieve. There are many saddle seatsout in the marketplace (which tend to be narrow), as well as a wide variety of other motorcycle seats.
As long as you find a motorcycle seat that takes your comfort into consideration, you will be ready to go. However, if you are building a show bike, then you might do away with every thought about your comfort. If you will be on your bikes pretty frequently, or in case you might need to travel with passengers, you will need a seat that is comfortable and versatile.
Like with the other parts described above, you can get your bike seat from a salvage yard. For a small fee, you can also reupholster the seat or get a professional to do it. Instruct anyone who you’ve hired to design the bike seat based on the texture, material, and color that fits your design best.
8. Reassembly And Finishing
Final Verdict
One thing I learned from the process is that building and designing working motorcycles is quite manageable. It might not exactly be a stroll in the park. However, it will enable you to go further than you ever thought you’d manage with regards to intellectual stimulation, artistic creativity, mechanical prowess, and electrical engineering.


Great article
Very in-depth tutorial. And especially as motorcycle junkyards are quite common, the only challenge I see is finding the style one would like.
how cheap can it be done