Dirt bikes are popular due to their high reliability. If you own one, you’ll also agree they’re fun to ride. However, these bikes have components that wear out over time and require changing for optimal performance.
Our interest here is in the clutch actuator. Typically, this device sits on the left side of the engine, hidden by a cover. It plays a critical role in helping the bike change gears.
But the clutch actuator will lose quality over time. You’ll notice symptoms like hard pull, oil leak, and poor shifting when that happens. In such situations, the best remedy is to replace it.
Steps To Change the Clutch Actuator

Do the signs tell you that your clutch actuator needs changing? If yes, simply follow the below steps:
Drain the Engine Oil and Remove the Clutch Cover
Kicking off, you must clear out the engine oil in the dirt bike. You can manage this easily with a drain pan placed just under the engine. Afterward, move to remove the clutch cover.
Bolts stick the clutch cover to the bike, so you’ll need a wrench to loosen them. Be careful while at this to avoid warping the cover. Once off, proceed to take off the gasket.
We recommend using a gasket scraper to prevent damaging the mating surfaces. But you can use a razor blade, too, if that’s what you have.
Ensure to keep track of everything you loosen, most especially the bolts. You don’t want to mix them when it’s time to recouple.
Remove the Clutch Basket and Plates

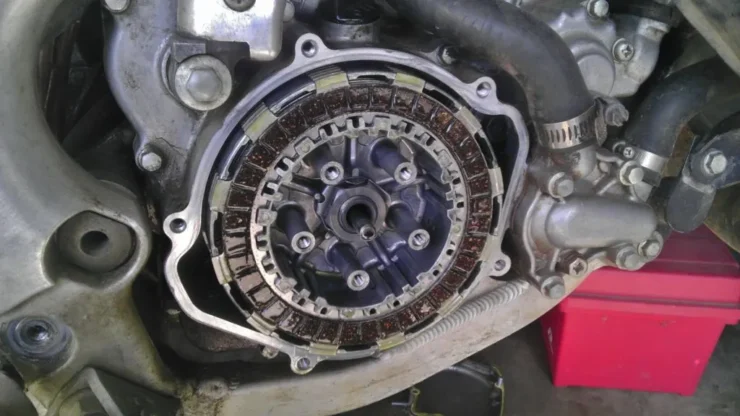
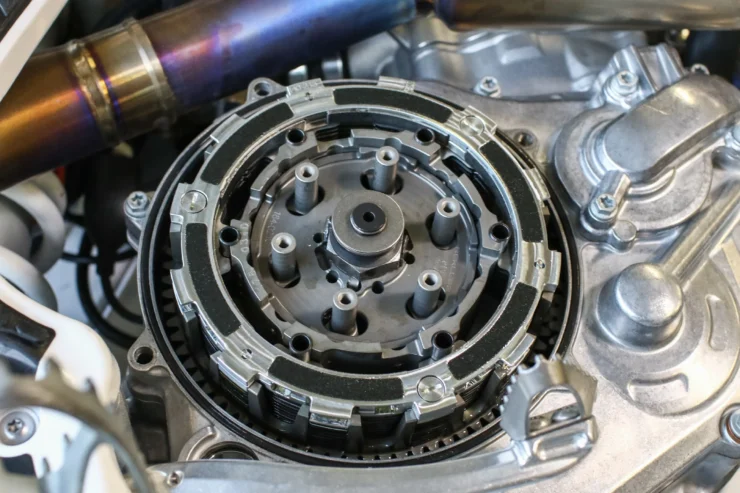
To remove the clutch basket, you’ll need a clutch holding tool in addition to your wrench. We recommend wearing a glove for this step. Even if you don’t care about oil and dirt greeting your hands, you should be attentive to the hot and sharp edges.
Having a holding tool is essential to prevent the basket from spinning while you loosen its nuts. Otherwise, it may damage. Next, grab a puller to take off the flywheel. The puller goes into the middle of the flywheel, placing it against the crankshaft and yanking it off.
With the flywheel off, bring out the clutch basket and inspect it. Is there any sign of wear and tear? If yes, know it’s not only the actuator you’ll have to replace.
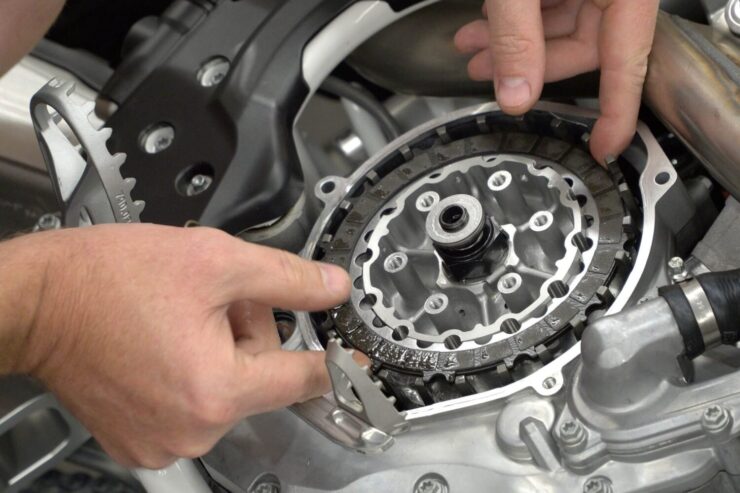
Also, inspect the clutch plates inside the basket. If they are damaged beyond repair, replacing the entire basket may be your only option. But if the plates are in good condition, then, simply organize them properly, and continue.
Take Off the Stator
As you get closer to the clutch actuator, you’ll meet the stator, which you have to remove. First, disconnect the wires connecting the static to the ignition control module.
You’ll find a wiring harness with bullet connectors or plugs in some dirt bikes. Whichever, disconnection is straightforward. Simply use a screwdriver to hold down the clips, then pull the wires apart.
But, before you remove the wires, ensure you mark them. This will ensure you carry out a correct reconnection afterward. If the setting appears complex, then, take out your phone and grab a picture.
Next, remove the stator bolts using a wrench. As you take out the stator bolts, also remove the plate. But be careful while at it, lest you damage the coils and wires.
Replace the Clutch Actuator Seal and Arm
Now, it’s time to actually replace the clutch actuator. First, reach for the crankcase and remove the actuator seal. A seal puller or a simple screwdriver will work for this.
With the seal off, turn your attention to the actuator arm. Loosen the nuts attaching the arm to the actuator cable with a wrench, then pull it out.
Then, you can proceed to install the new clutch actuator. Before doing that, however, it’s ideal to clean the seal area. Your new clutch actuator will work better if there is no dirt or debris around the installation spot.
Notably, check that the new actuator is the same as the old one, or it won’t be compatible. You can check out different actuators from Firgelli Automations to be sure of the type you need for your dirt bike.
Also, as you start coupling the new actuator seal and arm, add some lubrication. Engine oil or grease will work, and the advantage is that it reduces the chances of dry friction.
Tips To Prolong The Lifespan of Clutch Actuator in a Dirt Bike

As the previous section shows, replacing a clutch actuator in a dirt bike is a technical task. Also, of course, you’ll spend money on getting the new motion device. The best you can do, as a result, is to ensure it lasts, and here are some tips to help:
Ensure the Clutch Cable Is Properly Positioned
The clutch cable plays a significant role in the working duration of the actuator. When installing, you should allow sufficient space for it to freely engage and disengage the plates. It shouldn’t be too tight or too loose. The former will speed up wear and tear, while the latter will tune down performance.
Apply Lubricants Regularly
Already, we explained why you should lubricate the actuator area during the replacement. From time to time, too, you should lubricate the clutch to lessen friction and resistance. Consequently, the actuator will operate more smoothly and optimally.
Avoid Slipping

Slipping occurs anytime you partially engage the clutch, and, sometimes this is unavoidable. However, try to minimize the occurrence as much as possible or avoid it entirely if you can.
Inspect Regularly
Generally, components like actuators can develop faults at any time. It doesn’t matter whether they’re a day or a hundred days old. So, it helps to inspect the actuator from time to time. That way, you can spot minute issues and stop them before they sprout into something bigger.
Conclusion
Don’t send your dirt bike to the scrap yard simply because the clutch isn’t engaging or disengaging as it should. A simple replacement of the actuator can fix the problem. You can take the bike to a pro for this, but that may take out a few dollars from your pockets. Alternatively, follow the steps discussed herein and complete the task yourself. Also, adhere to the subsequent instructions on ensuring the new clutch actuator lasts.

